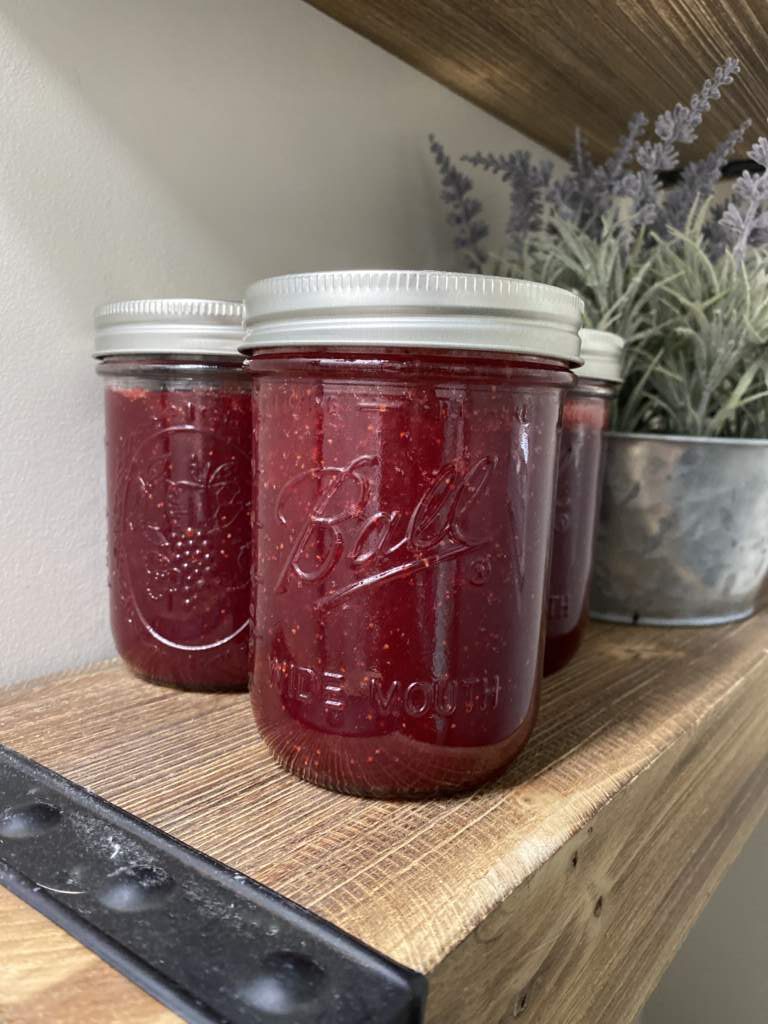
Who doesn’t love a good peanut butter and jelly sandwich? Take it up a notch with your own handpicked strawberries and homemade jam and you will be in heaven! This recipe is for strawberry jam with pectin. It is not as sweet as some recipes. So if you’re hoping for a jam that isn’t too runny and not overly sweet, this is for you!

The Process
First, wash all your berries. Next, hull the strawberries (take the green part off and the firm white part in the center). Then comes the fun part! Smash the berries! My kids always love to get involved at this point. Mash them really well. I like to use an immersion blender to make it really fine. We don’t prefer chunks in our jam. However, if you’re a chunk lover, feel free to not blend it up!
You will want to boil 4, 16 oz mason jars and their lids in water for 10 min to sterilize. They can be simmering while you continue making the jam.
Grab a big pot and place your strawberries in the pot along with your sugar, lemon juice, and pectin. Let this come to a strong boil. You will want it to boil for about 30 min, stirring every few minutes. The strawberry jam will create a foam on the top while it is boiling. Take a spoon and skim it off the top. If you choose to not skim it, the foam will cause your jam to have a watery layer on top once it’s canned.
Most recipes say that if the jam reaches 220 degrees it will set up nicely and not be runny. You can also do the plate test. Place a plate in the freezer while you’re making the jam. Once you think your jam is ready, place a small dollop of jam on the cold plate and see if it jells up. If it’s still runny, then boil it a bit longer.


Canning
Once your jam is ready, you can pour it into your sterilized jar and place the lid on. Do not completely screw the lid on, just do it so it has a little twist left. Then, place it in a water bath just covering the lower rims of the lid. Boil it for 10 minutes. Next, turn the stove off and let it sit in the hot water another 5 minutes. At this point you can remove the jars from the water bath with a jar lifter and let them sit undisturbed on your counter for at least 12 hours.
After they have sat, you can check and make sure the cans have sealed. If the center circle on the lid has indented and it can’t be pressed down, it worked! If it didn’t, it’s ok, you can keep it in the fridge up to 6 months. The cans that did seal can be stored in the pantry for up to a year or until you want to use them.


I debate every year on whether to use pectin or not. Without pectin, it has a tendency to be pretty runny. It is harder to get it to be like an actual jam. So, this recipe is my go to when I want consistent results. If you find that the recipe below is not as sweet as you would like, add another cup of sugar!

Easy Homemade Strawberry Jam (With Pectin)
Equipment
- 4 Mason jars with canning lids
- 2 Large Pots
- 1 Potato Masher
- 1 Canning jar lifter
- 1 Funnel
Ingredients
- 8 Cups Mashed strawberries
- 1/4 Cup Lemon Juice
- 6 Cups Sugar
- 1 Cup Pectin
Instructions
- Wash, hull and mash strawberries.2. Place mashed strawberries, lemon juice, sugar and pectin in large pot on stove3. Bring to a hard boil, stirring every few minutes.4. Skim off the foam that rises to the top while the berries boil.5. Let simmer for approx 30 min and then "cold plate test" the jam to see if it has set up. (While the jam simmers, boil/sterilize your mason jars.)6. Once the jam is ready, pour into your mason jars.7. Lastly, if you want to store the jam in the pantry, you will need to can them. Place the jars in boiling water up to the rims for 10 min, then another 5 mins off of heat. Once the pop top has clicked down, the jars are sealed and can be placed on the counter undisturbed for 12 hours. They will be safe to place in the pantry for up to a year! If the pop seal is not indented, then just store in the fridge for up to 6 months.
Notes
Disclaimer: This page contains affiliate links. If you choose to make a purchase after clicking a link, I may receive a commission at no additional cost to you
