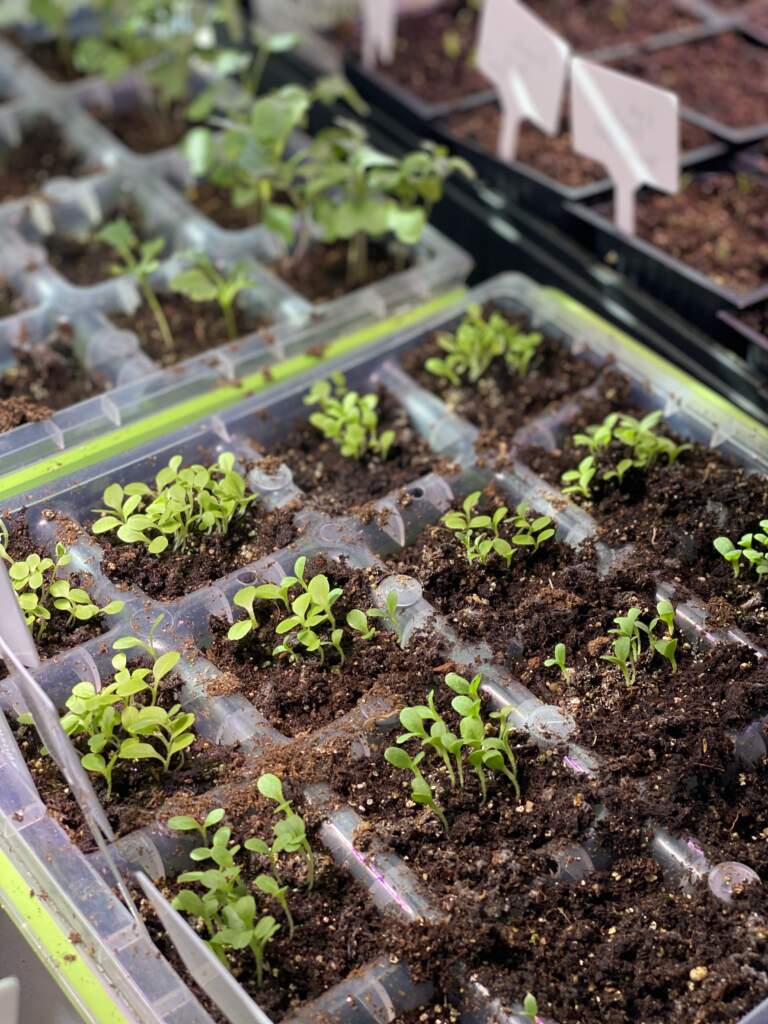
You don’t need a greenhouse or a bunch of fancy equipment to start seeds at home. I have found that our folding card table works really well in our guest room! Each January, I begin my planning for the garden that year. I look through notes from the previous year of what worked/didn’t work. Once I pick out what I’m going to plant for the year, I draw a map of our garden space and decide what plants will go where. It is important to remember that not all plants are good companions. Some plants quite literally suck the life out of each other. So, always check (google) before you plant!

Seed Companies:
I have tried several organic, nonGMO, heirloom seed companies, and my favorite two are: Seed Savers Exchange and Southern Exposure. It is important to use organic, heirloom seeds as these are the purest, original form dating as far as 1940 and before. They are not genetically modified. No chemical pesticides have been used on them. Also, since they are not modified, they are much more likely to produce again if you save their seeds!
Make a Plan:
After I purchase my seeds, I write out everything I have ordered. Then, I make a list of start dates for the seeds indoors/outdoors. The Old Farmer’s Almanac has great information about when to start each variety of seed indoors and when to plant them outdoors for your zone. Some seeds should just be “direct sow.” (Started as seeds in the ground outside.)
For example:
- Cucumbers: Start Date Indoors: March 15 /Plant outdoors: April 25
- Green Beans: Direct Sow: April 20
Next, as I plant the seeds, I check it off- working off my master list. It helps to keep everything organized and simplified. All the thinking through everything is done in January- and now I just follow my plan.
Ok, so let’s get to it- You’ve ordered your seeds. You know which are cool weather/hot weather. You have them all organized in your seed organizer. Now, you are amped and ready to get started. So…


Seed Supplies:
- LED Plant Lamps– it is important for the seeds to have at least 12 hours of light. Turn the lights on as soon as you wake up. Before you go to bed, turn them off. (I use two of these lamps.)
- Organic Starter soil- I usually buy mine at home depot.
- Bucket- any bucket will do! I mix up my soil and water in a bucket outside so I can fill each seed starting tray easily
- Seed Start trays- you can reuse ones from previous plants, use egg cartons, cups. I use some plastic, reusable ones like this. I have a variety of sizes and use them every year. (It is important to clean the trays every year after you use them to rid them of any diseases or fungus that may have grown.) It’s also worth noting- if you start in a tiny container- you will quickly outgrow it!


Ready to Plant
You will surprise yourself with how many times a day you check on those baby plants. It is too fun! All this new life is so amazing, and refreshing when you’re hoping for spring to hurry up and get here. Once the seedlings have matured enough, it’s the right time frame according to the farmer’s almanac, and they’ve grown their “true leaves,” the plants can leave the comfort of your home. Now, you can begin the “hardening off” process.
For about a week, you will take the plant that is ready for the outdoors and let it sit in the elements for several hours a day. (As long as temps are above 50 degrees.) This allows them to acclimate to the environment- the harsh sun, the wind, insects etc. After a week of this, your precious little plant baby is ready to be put in the ground. Yay! We use the Back to Eden Gardening method for our garden. Click here to read more about that!
After watching a tiny seed take root and grow into a specific plant that produces fruit/veggies- how can anyone deny that there is a Creator behind this? Try the process yourself- and I guarantee, you’ll stand in awe of God!


Disclaimer: This page contains affiliate links. If you choose to make a purchase after clicking a link, I may receive a commission at no additional cost to you
